This is part one of a few posts on specific things I find indispensable when using Photoshop to work on concept art, illustrations, sketches and design work.
Part one includes the first of the most important set of tools for working non-destructively - Smart Objects.
A lot of the information in this series directly relates to working faster, and smarter. Some things I learned the hard way, others someone teaching me on the Internet or in person.
Work non-destructively
Most of the tools in PS are changing the image directly in some way. This can pile up, and degrade the image quality if you aren't careful (especially when using bitmaps/raster images) but more importantly it prevents you from tweaking changes made a few steps ago.
Unless you work with your history size set to millions and you don't mind redoing large portions of work since the step you want to tweak, and if you intend to never close a file - you should always aim to work non-destructively.
Smart objects
One of the most useful features (and often exactly how to apply things without losing the original) is the ability to put stuff in it's own little storage, and "reference" it from within another file. Not only does this allow for some really time saving stuff, it also makes your file signifcantly cleaner when all major portions of the file aren't strewn across 1000+ layers. This is all handled in a click or a keypress and saves oodles of time.
Imagine I want to design a website mockup, and that has 100 fake posts on it. I make a single "template" post, and I manually duplicate these layers (in a group) and move them into place that isn't too bad - but now someone has suggested a better formatting for the header after I show them the design... I have to manually find and change 100 things to be identical, or I can delete 99 of them, edit the template one, and re-copy them back into place.
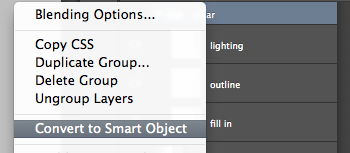
That's pretty tedious and quickly can get you into a lot of frustrating times, and this is exactly what smart objects are for. If you made the template, put them into a group folder and then right click on it -> Convert to smart object you are now dealing with "another file" that holds the template. If you duplicate the smart layer 100 times, you can double click on any of them in the layer palette and it will take you to original that let's you edit the source template on it's own. You make your change, hit save, and all 100 instantly reflect the change because they are an instance of the one.
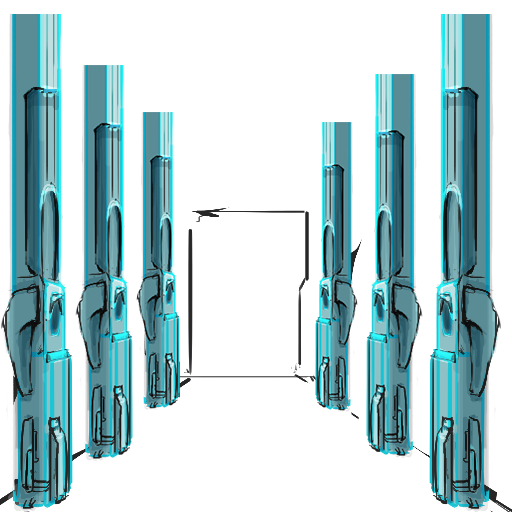
Let's do a visual example - I want to draw a quick sketch with relatively decent detail level but I have limited time. I throw together a quick thumbnail sketch to get an idea of what I want, say like this :
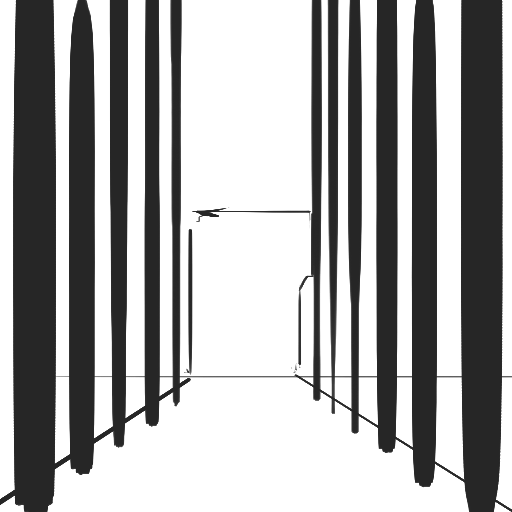
Now the repetition in the pillars is something I will be able to use a smart object for, draw one pillar in detail (the one closest to the "camera") and then replicate it around the scene allowing me to only change one source, and all pillars update automatically to reflect the changes. This lets me iterate quickly on a pillar design, and the propogation of change is handled by PS.
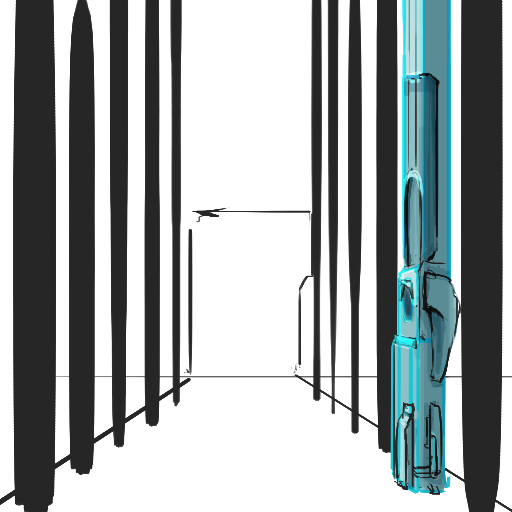
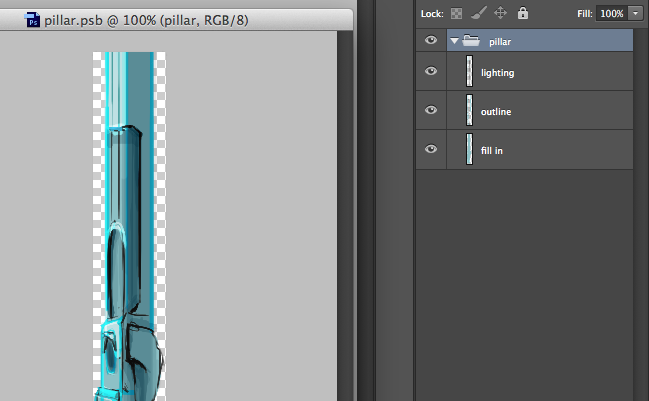
So, I draw a quick block in for a pillar (the weird colors are intentional) :
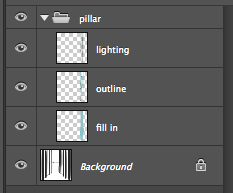
Now, this is how my layers look :
Now, simply convert that folder to a smart object
And now, each duplicate of that layer, is an instance, meaning if the source changes the rest change. The word instance is important because it also means that they are unique, and have unique transforms, blending options, opacity etc.
So, I moved the duplicated pillars around, mess with their size and perspective if needed to quickly block them into an ok place to work from. Notice how they don't reach the roof? If I edit the smart object and extend it vertically, all of them would reach the roof, but that's fine for now.
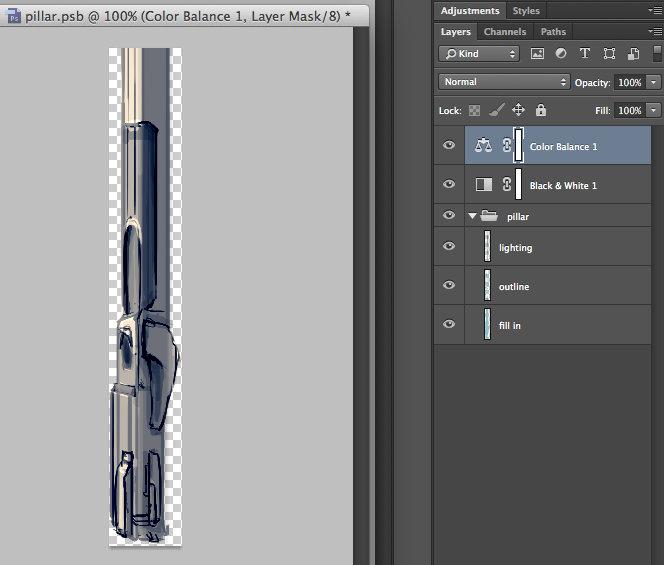
Double click any of the smart objects, which takes me into a new file that contains my original layers :
Now, we can do more stuff to the pillar. Let's extend the pillar up vertically and let's apply some layer adjustment tools, and get rid of that blue color (this is non destructive, too).
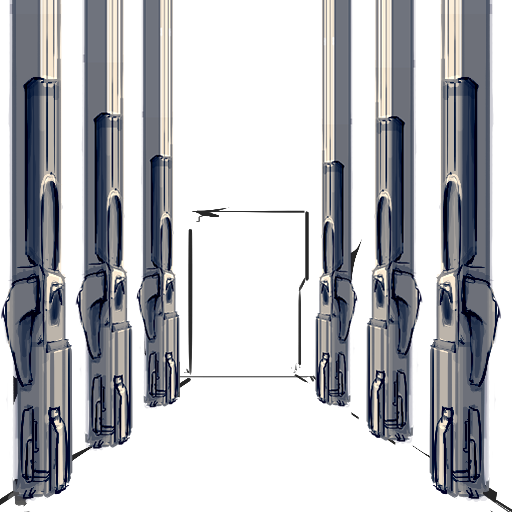
Once I hit save, the image updates to reflect my changes made in the smart object. Because I changed the height significantly, I had to rearrange the placement slightly because I didn't plan ahead, but the principle applies and I managed to get a more complex scene then I have worked for.
Conclusion
Part two will have a bunch of smaller quicker tips, like information and ideas about the adjustment layers, filters etc.